
I remember the first time I tried to steam milk on my Breville Barista Express—I was a bit nervous, honestly. I had always marveled at the baristas at my local coffee shop, effortlessly creating creamy lattes and intricate foam art. When I got my Breville, I thought: why not bring that experience into my kitchen? It took a few tries (and maybe a few spilled jugs), but eventually, I got the hang of it. Today, I'm excited to share what I've learned so you can enjoy the same satisfaction of making perfect, velvety steamed milk right at home.
Why Steamed Milk is Important
Steamed milk isn’t just about the foam on top; it’s a vital part of what makes your coffee taste as good as it does. Properly steamed milk adds texture, enhances flavor, and complements the richness of espresso. It’s all about microfoam—those tiny, silky bubbles that give your drink a smooth, creamy mouthfeel. The balance between the espresso and the microfoam creates that indulgent experience that turns a basic coffee into a proper latte, cappuccino, or macchiato. With well-steamed milk, the espresso's boldness meets the milk's sweetness in a way that's just magical.
Setting Up the Breville Barista Express
The Breville Barista Express is a fantastic choice for anyone who wants to replicate a café-quality experience at home. This machine has a powerful yet manageable steam wand, making it ideal for beginners as well as more experienced coffee enthusiasts. With a little practice, you can achieve professional-grade results without stepping outside your kitchen. Let’s go step by step, so you’ll be frothing like a barista in no time.

Essential Equipment
To steam milk using your Breville Barista Express, you'll need:
- Breville Barista Express with the steam wand.
- Cold milk (whole milk for a creamy texture, but you can also use plant-based alternatives like oat or almond milk).
- Stainless steel milk jug to maintain an even temperature while steaming.
- Thermometer (optional) to help you gauge the right milk temperature.
Step 1: Prepping Your Breville
Before you start steaming, make sure your Breville Barista Express is fully heated and ready. It’s a good idea to let it warm up a minute or two longer even after the steam function button lights up—this ensures it’s at the optimal temperature.
Next, purge the steam wand by turning the steam dial for a second or two. This step is crucial because it removes any water that may have condensed in the wand, ensuring you get dry steam instead of water when you start steaming.
Step 2: Prepping the Milk
Fill your milk jug about one-third full with cold milk. Using cold milk gives you a bit more time to reach the desired texture before it overheats. Whole milk is usually the best choice because of its high fat content, which makes for a rich, creamy foam. If you prefer plant-based milk, opt for "barista" versions of oat or almond milk—these tend to froth much better than standard alternatives.
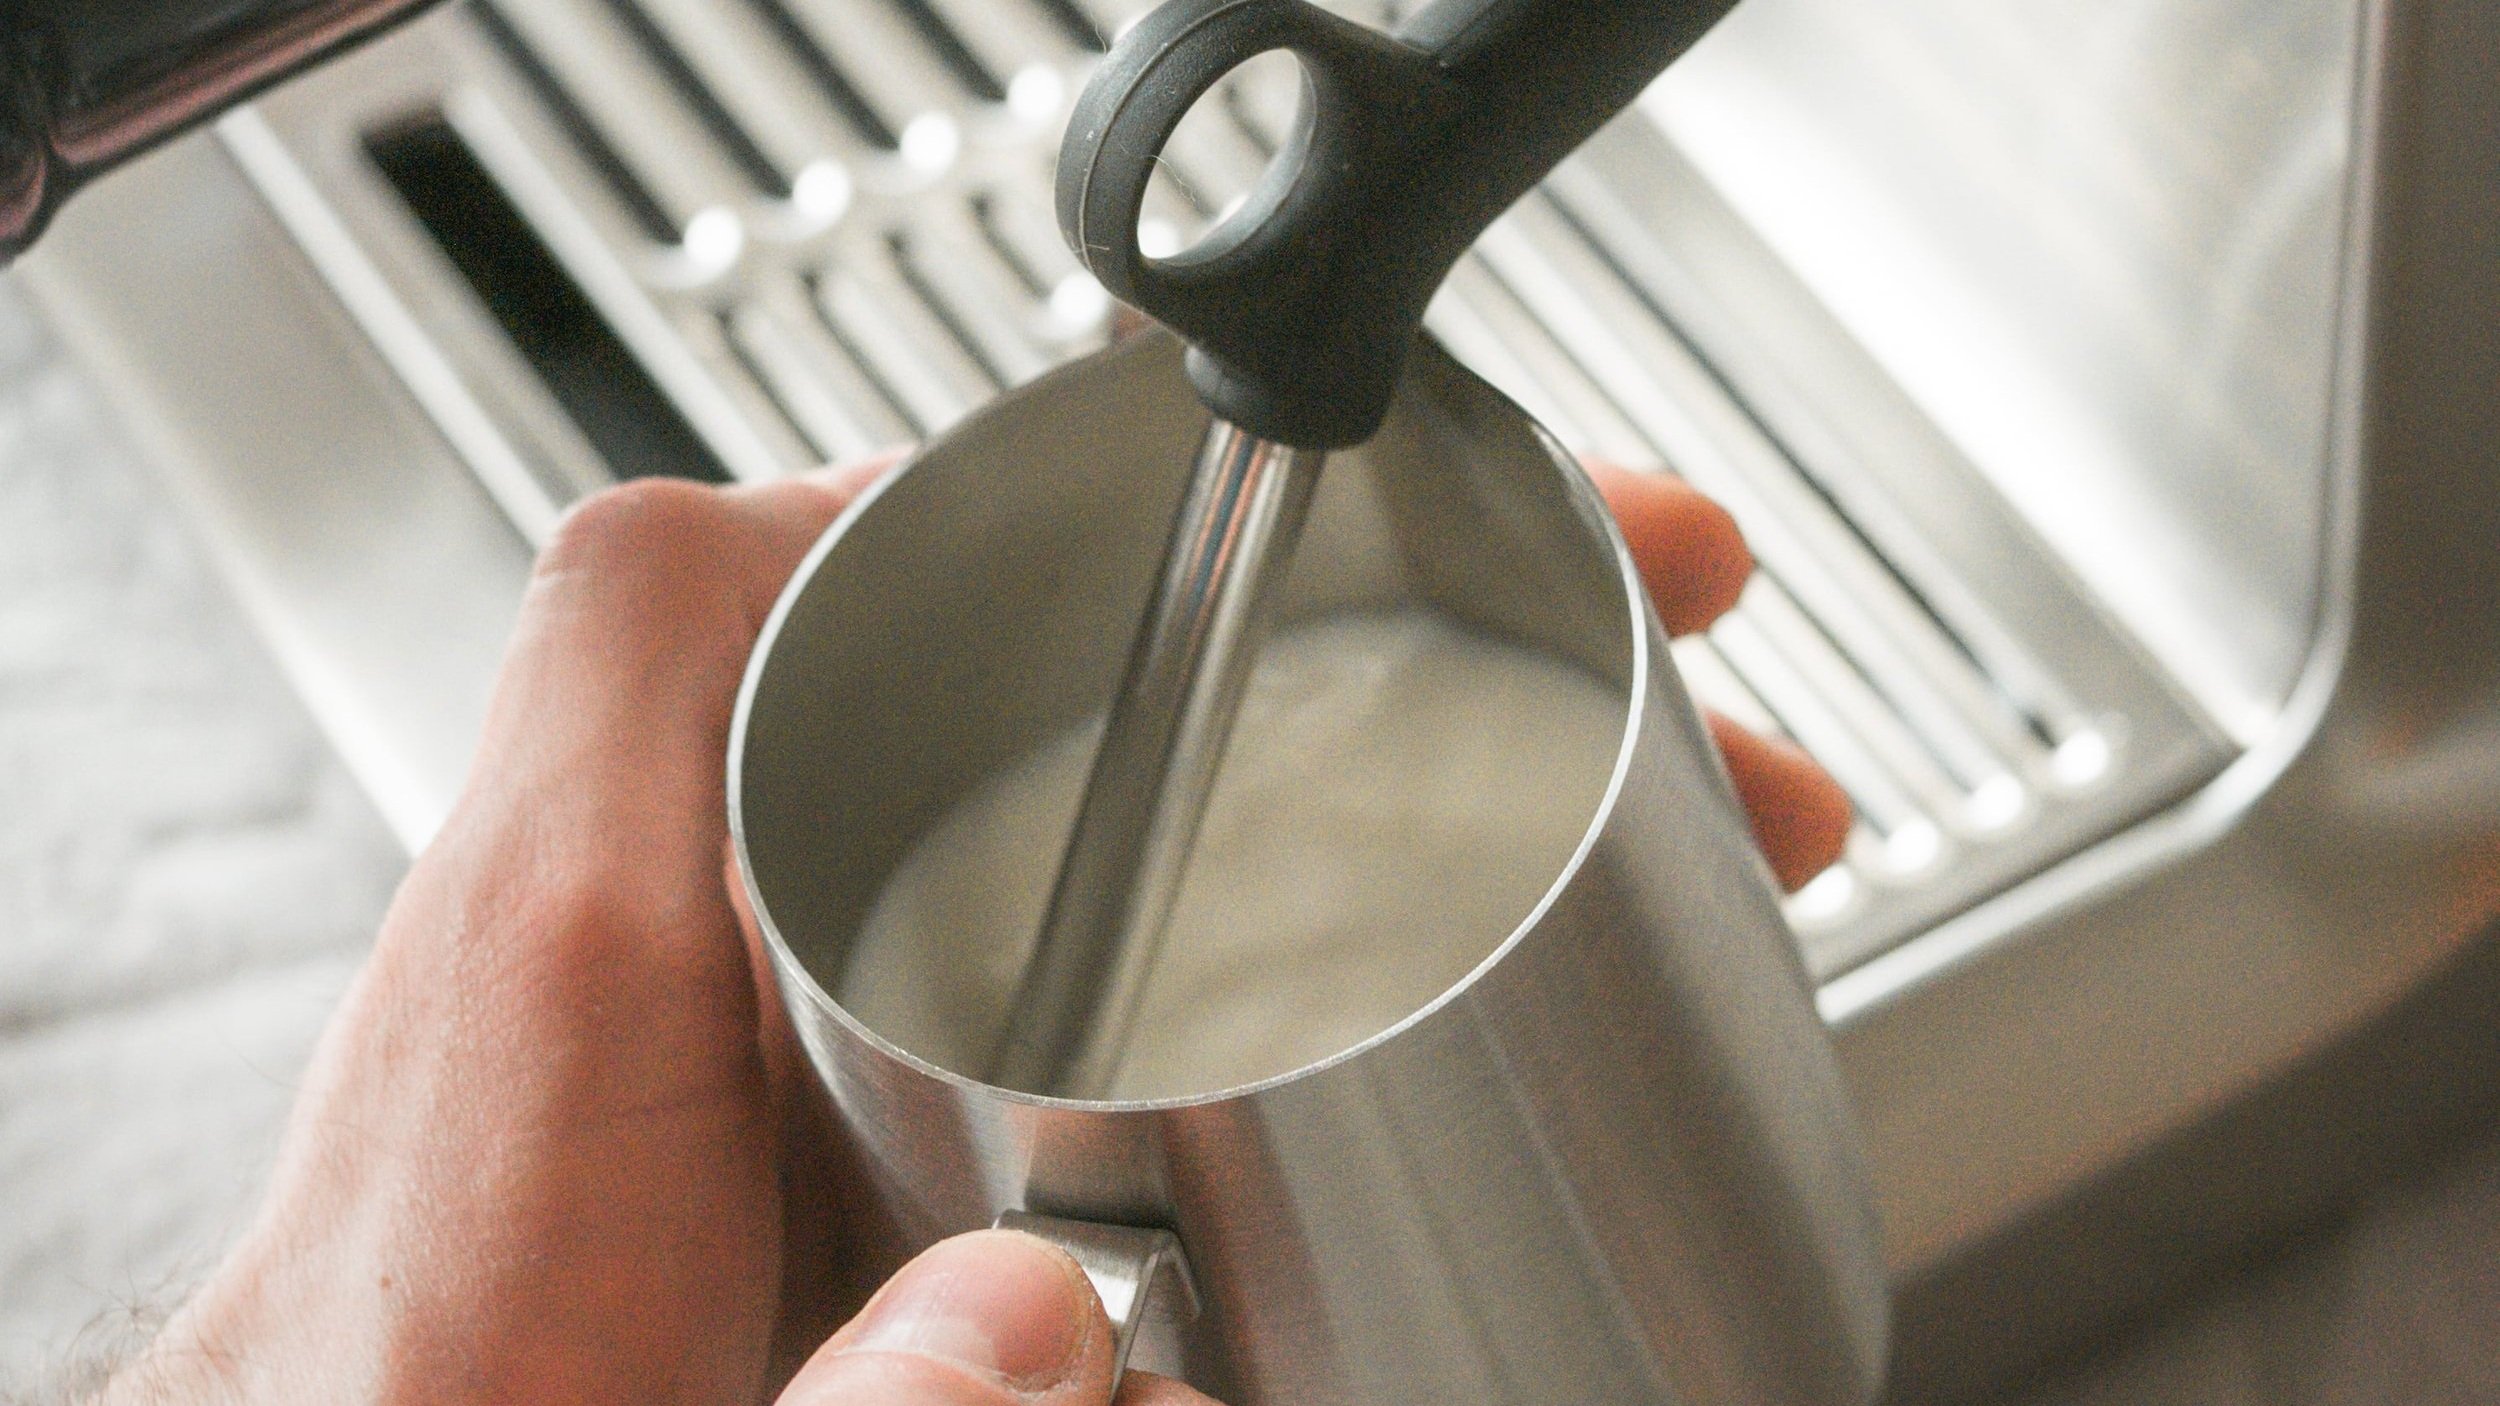
Step 3: Positioning the Steam Wand
Correct positioning of the steam wand is one of the most critical aspects of milk steaming. Insert the wand into the milk so that the tip is just below the surface, at an angle of about 15-20 degrees. The goal is to create a whirlpool effect, which breaks down larger bubbles and creates smooth microfoam.
I typically tilt the jug slightly and keep the steam wand near the edge. This angle helps encourage the milk to swirl in a vortex, distributing heat evenly and ensuring that the milk takes on a glossy, velvety consistency.
Step 4: Steaming the Milk
Turn the steam knob to start steaming. During the initial seconds, you should hear a gentle hissing noise—this means you’re correctly introducing air into the milk. This phase is called "stretching," and it’s how you create foam. Keep the tip of the wand just below the surface to incorporate air without splattering.
After about 5-10 seconds, lower the jug slightly to let the wand go deeper. This moves you into the "texturing" phase, where the milk heats up and the foam integrates into a smooth, uniform texture. You should see the milk swirling—this movement is key to producing a silky microfoam that will pour beautifully.
Aim for a temperature of about 150°F (65°C) if you’re using a thermometer. If you’re going by feel, stop steaming when the jug becomes too hot to hold comfortably for more than a few seconds.
Step 5: Final Touches
Once the milk reaches the desired texture and temperature, turn off the steam and immediately wipe the steam wand with a damp cloth to remove any milk residue. Purge the steam wand again briefly to prevent any leftover milk from clogging it.
To finish, give the milk jug a couple of taps on the counter to pop any larger bubbles, then swirl it around to create a shiny, glossy consistency. If it looks silky and smooth, you’ve nailed it!
Step 6: Pouring the Milk
When pouring, start slowly with the jug close to the surface of the espresso to blend the milk and espresso seamlessly. As you reach the top of your cup, raise the jug slightly and pour a bit faster to layer the foam on top. With a bit of practice, you can even try your hand at simple latte art—start with a basic heart or rosetta design to impress your friends or just make your morning a little more special.
Troubleshooting Common Problems
Steaming milk takes practice, and it’s normal to run into some issues at first. Here are some common problems and solutions:
- Milk Not Frothing Properly: Make sure you’re using cold whole milk or a barista-specific plant-based milk. Also, be sure that the steam wand tip stays just under the surface to introduce air correctly.
- Large Bubbles in the Foam: Large bubbles often mean you’ve added too much air. Keep the tip near the surface without letting it break through and splash the milk.
- Milk Overheating: Either use a thermometer to gauge the temperature or stop when the jug is too hot to hold for more than a few seconds. Overheated milk can scald and lose its natural sweetness.
Frequently Asked Questions
Q: What type of milk is best for steaming?
A: Whole milk works best for steaming due to its high fat content, which helps create a rich, creamy foam. However, "barista" versions of plant-based milks like oat or almond can also work well for frothing.
Q: Why is my milk not frothing correctly?
A: Make sure you’re using cold milk and that the steam wand tip is just below the surface to introduce air properly. Also, purging the steam wand before steaming can help you achieve better results.
Q: How do I know when the milk is at the right temperature?
A: The ideal temperature is about 150°F (65°C). If you don’t have a thermometer, stop steaming when the jug becomes too hot to comfortably hold for more than a few seconds.
Q: Can I use non-dairy milk?
A: Yes, plant-based milks can be used. Barista versions of oat and almond milk are designed for frothing and generally yield better results than regular versions.
Q: How can I prevent large bubbles in my milk?
A: Keep the steam wand just below the surface during the stretching phase and make sure it’s at an angle that encourages the milk to swirl. This helps break down large bubbles and create smooth microfoam.
Final Thoughts
Mastering milk steaming on the Breville Barista Express is both an art and a science. With patience and practice, you’ll be able to create smooth, creamy microfoam and enjoy café-quality lattes, cappuccinos, and more at home. Don't be discouraged if it takes a few tries to get it right—the journey is half the fun, and the reward is a delicious cup of coffee crafted by your own hands. Enjoy the process and happy steaming!